- Look: Check the tile for uniform color, surface smoothness, color differences, edges, deformation, and other defects.
- Tap: Gently strike the tile with a hard object; the clearer the sound, the higher the vitrification.
- Drip water: Drop water on the back of the tile; if it spreads, the quality is poor. Check for any damage.
- Measure: Use a tape measure to check for size differences around each tile; high precision indicates superior quality.
- Scratch: Use an ordinary knife to forcefully scratch the tile surface; if no marks are left, it has good wear resistance.
- Drop: As the name implies, check for any damage by dropping it.
- Weigh: Thicker tiles are better because they have higher density.
Expert Tile Installation Guide: 10 Essential Tips for Flawless and Modern Home Tiling – Avoid Common Mistakes with Professional Advice on Waterproofing, Alignment, and Durability
1. Insist on full-floor tiling without threshold stones!
Reason/Benefit: Initially misled by the idea that threshold stones divide space and block water, but they actually look unattractive and disrupt the overall unity and extension of the space. Full-floor tiling creates a grand, spacious, and modern appearance, allowing robot vacuums to move freely. In bathroom wet and dry areas, use tile height differences or invisible water barriers for a more aesthetic look.

2. Insist on whole-house tile seam alignment!
Reason/Benefit: Initially thought ‘close enough is fine,’ but misaligned seams can be frustrating, especially in prominent areas like the living room or hallway. Proper alignment makes floors and walls look neat, premium, and professional. This requires discussing the layout plan with the tiler before installation.

3. Insist on wall-over-floor technique, never floor-over-wall!
Reason/Benefit: With floor-over-wall, gaps at the bottom allow water to seep in, leading to edge leakage, hollowing, or mold over time. The wall-over-floor method (laying floor tiles first, then wall tiles over them) prevents this, offering better waterproofing and a cleaner look with gaps on the side.

4. Insist on using grout, reject white cement or ordinary fillers!
Reason/Benefit: White cement and basic fillers easily turn black and moldy, especially in kitchens and bathrooms, creating hygiene issues. Grout or epoxy grout offers diverse colors, waterproofing, mold resistance, durability, and easy cleaning. This investment is crucial for tile refinement and maintenance. For perfect results, hire a professional team for precise, smooth finishes that enhance tile quality.

5. Insist on quality tile adhesive; cement mortar isn’t universal!
Reason/Benefit: For large tiles, wall tiles, or low-absorption tiles like porcelain or slabs, cement mortar alone lacks sufficient adhesion, risking hollowing or脱落. Use appropriate tile adhesive (e.g., C1 or C2 grades) for safety and reliability, even if it costs more. Don’t be swayed by outdated practices.

6. Insist on a proper slope in the shower area and personally verify it!
Reason/Benefit: A poorly sloped shower leads to standing water. Emphasize this during installation and test it immediately by pouring water—it should flow quickly and unobstructed to the drain center. This is key for daily comfort.

7. Insist on leveling wall tiles as well!
Reason/Benefit: Many think only floor tiles need leveling, but uneven wall tiles cause issues with cabinet, vanity, or mirror installation, resulting in crooked gaps. For seamless countertops or embedded appliances, wall flatness is critical. Use a leveling tool during installation.

8. Insist on buying extra tiles for wastage—more is better than less!
Reason/Benefit: Buying just enough tiles risks shortages from cutting errors or losses. Different batches may have color variations. Purchase 5%-10% extra (negotiate returns for unopened boxes) to avoid mismatches or unavailability later.

9. Insist on on-site supervision of key steps!
Reason/Benefit: Don’t be completely hands-off! Check critical aspects like tile soaking (for high-absorption tiles), cement mortar or adhesive ratios, installation techniques, seam alignment, and slope testing. Address issues early to avoid costly rework.

10. Insist on planning water and electricity pipeline locations in advance and document with photos!
Reason/Benefit: Once tiles are laid, pipelines become hidden. Drilling later for hooks, towel racks, or mirrors could hit wires or pipes, causing disasters. Before tiling, obtain accurate utility maps or take clear photos and store them visibly or digitally.

Reason/Benefit: Tiling is a delicate task, especially for intricate patterns, seams, or special cuts. Rushing for deadlines compromises quality. Communicate with workers to allow sufficient time for meticulous work—good results are worth the wait.
Ultimate Bathroom Tile Selection Guide: Expert Tips on 5 Must-Have Features and 5 Common Mistakes to Avoid for Safety and Style
Part 1: 5 Principles for Buying Bathroom Tiles
When decorating a bathroom, selecting the right tiles is a crucial step. As a high-traffic and humid area, bathroom tiles must be both aesthetically pleasing and functional, offering features like anti-slip properties, water resistance, and durability.
So, how do you choose the best bathroom tiles?

Experienced renovation experts have compiled “5 buy and 5 don’t buy” tips to help you avoid pitfalls and make informed decisions. These insights can streamline your renovation process and prevent future regrets.
1. Buy tiles with excellent anti-slip performance
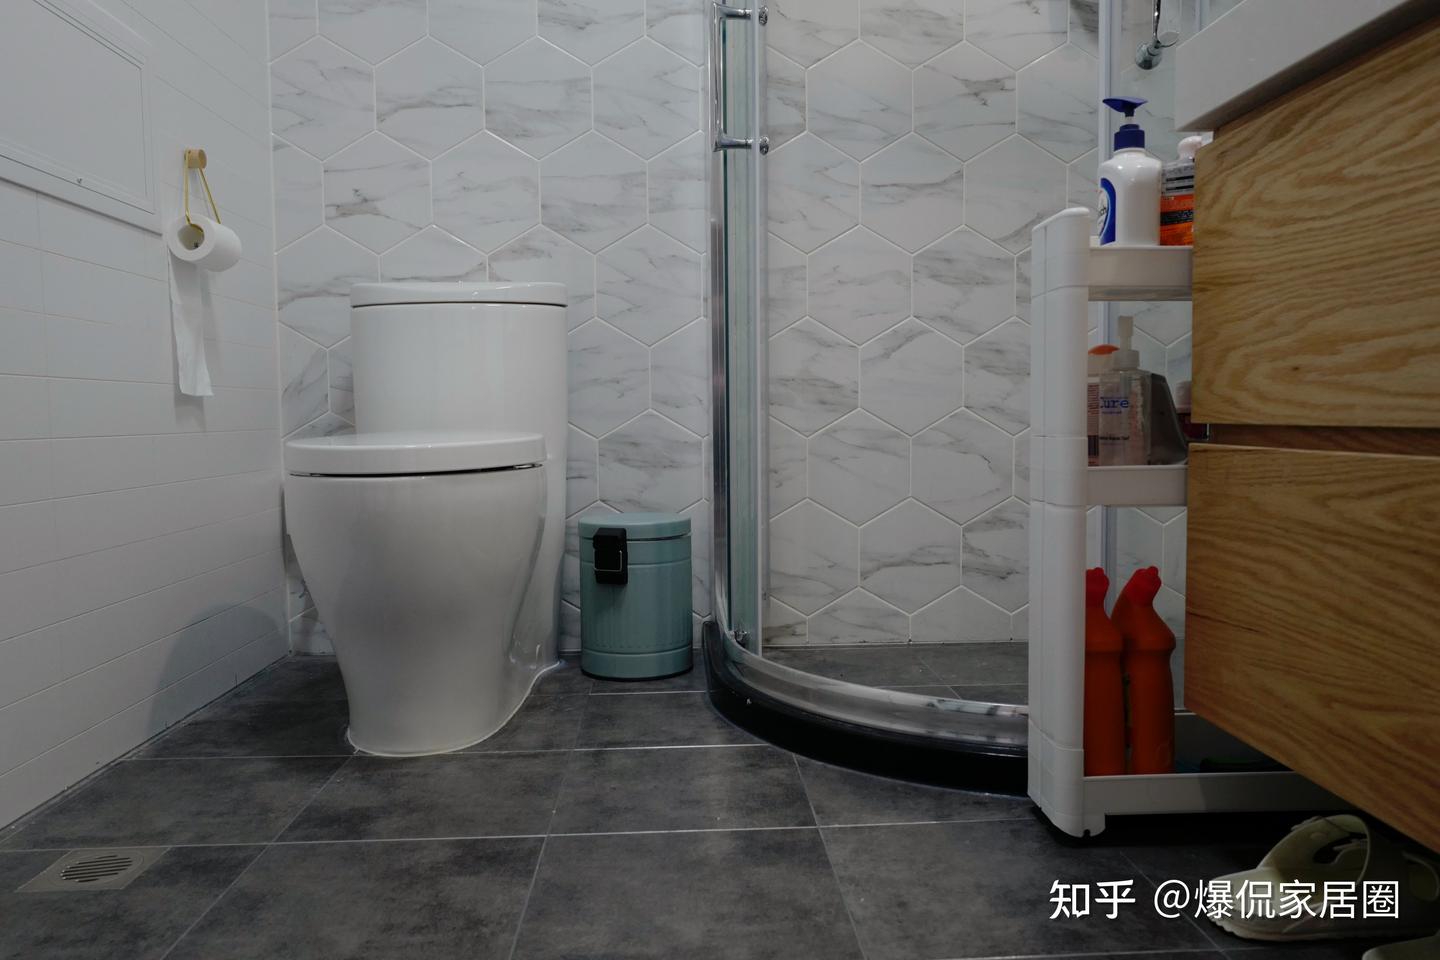
Bathroom floors are frequently wet, making slip resistance a top priority. For households with children or seniors, this is especially important. Tile slip resistance ratings range from R9 (lower resistance) to R13 (high resistance). Choose tiles rated R11 or higher for safety. Anti-slip tiles often feature textured or matte surfaces to increase friction and reduce accidents.

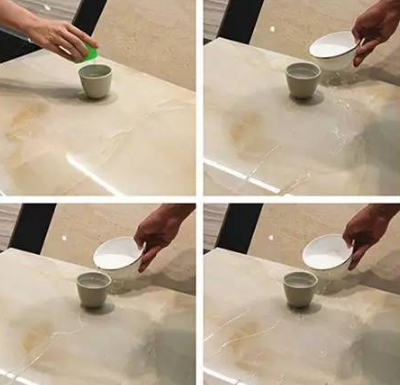
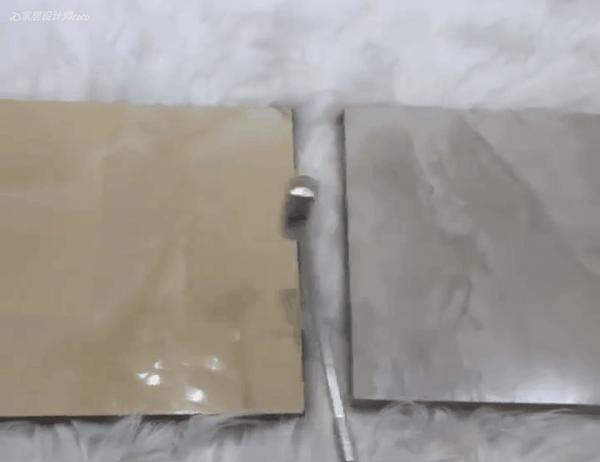
2. Buy tiles with low water absorption
High humidity in bathrooms can lead to mold and deterioration, so low water absorption is key. According to standards, tiles with absorption below 0.5% are considered high-quality. Test by dripping water on the tile back—slow absorption indicates better performance. Low-absorption tiles enhance moisture resistance and longevity.
3. Buy tiles with strong wear resistance
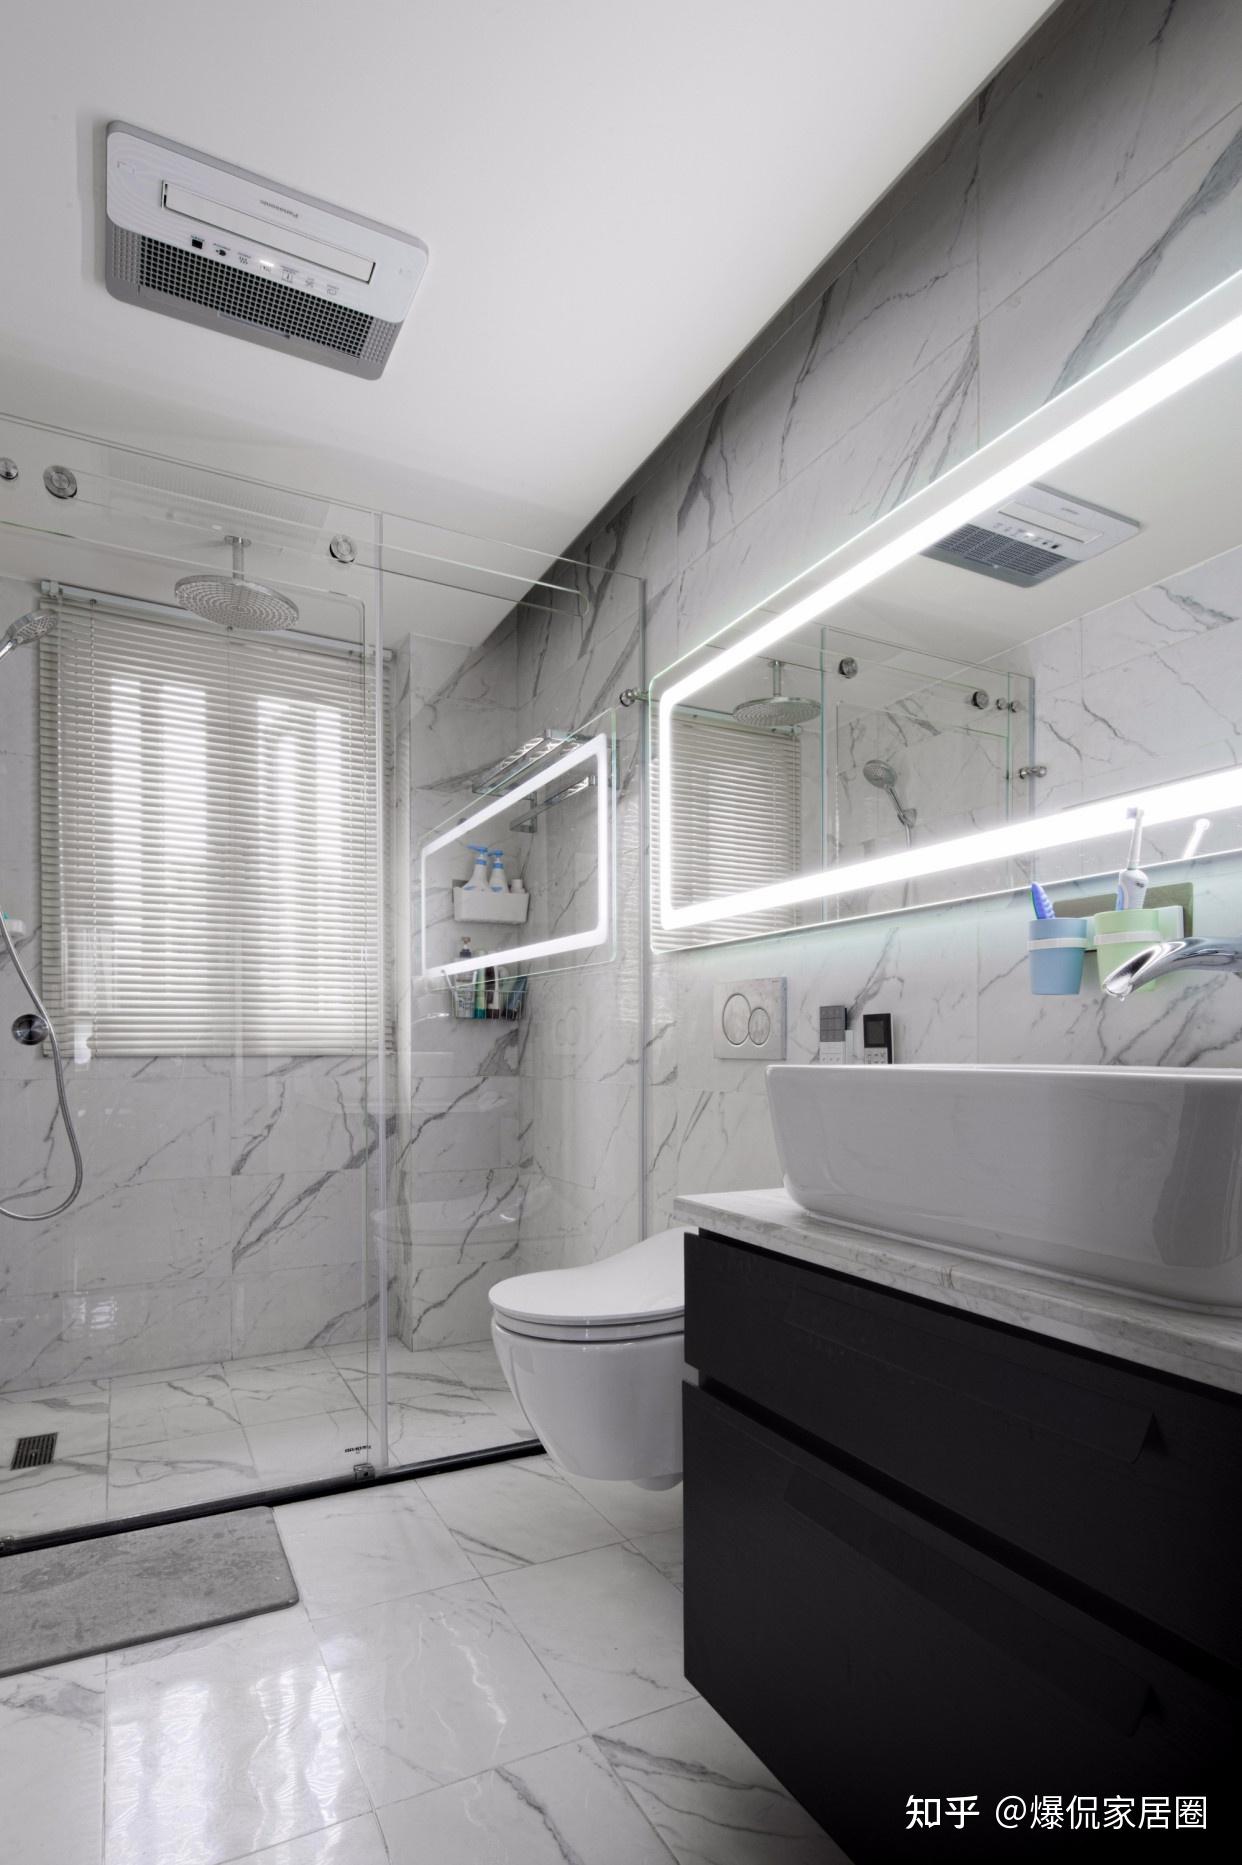
Bathrooms endure heavy use, so tiles must be durable. Glazed and polished tiles are excellent choices due to their hard surfaces and scratch resistance. Durable tiles maintain their appearance and reduce cleaning efforts.

When selecting, scratch the surface with a hard object to check for marks and assess durability.
4. Buy tiles that are easy to clean
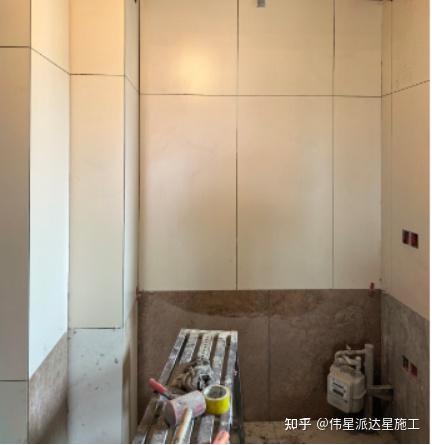
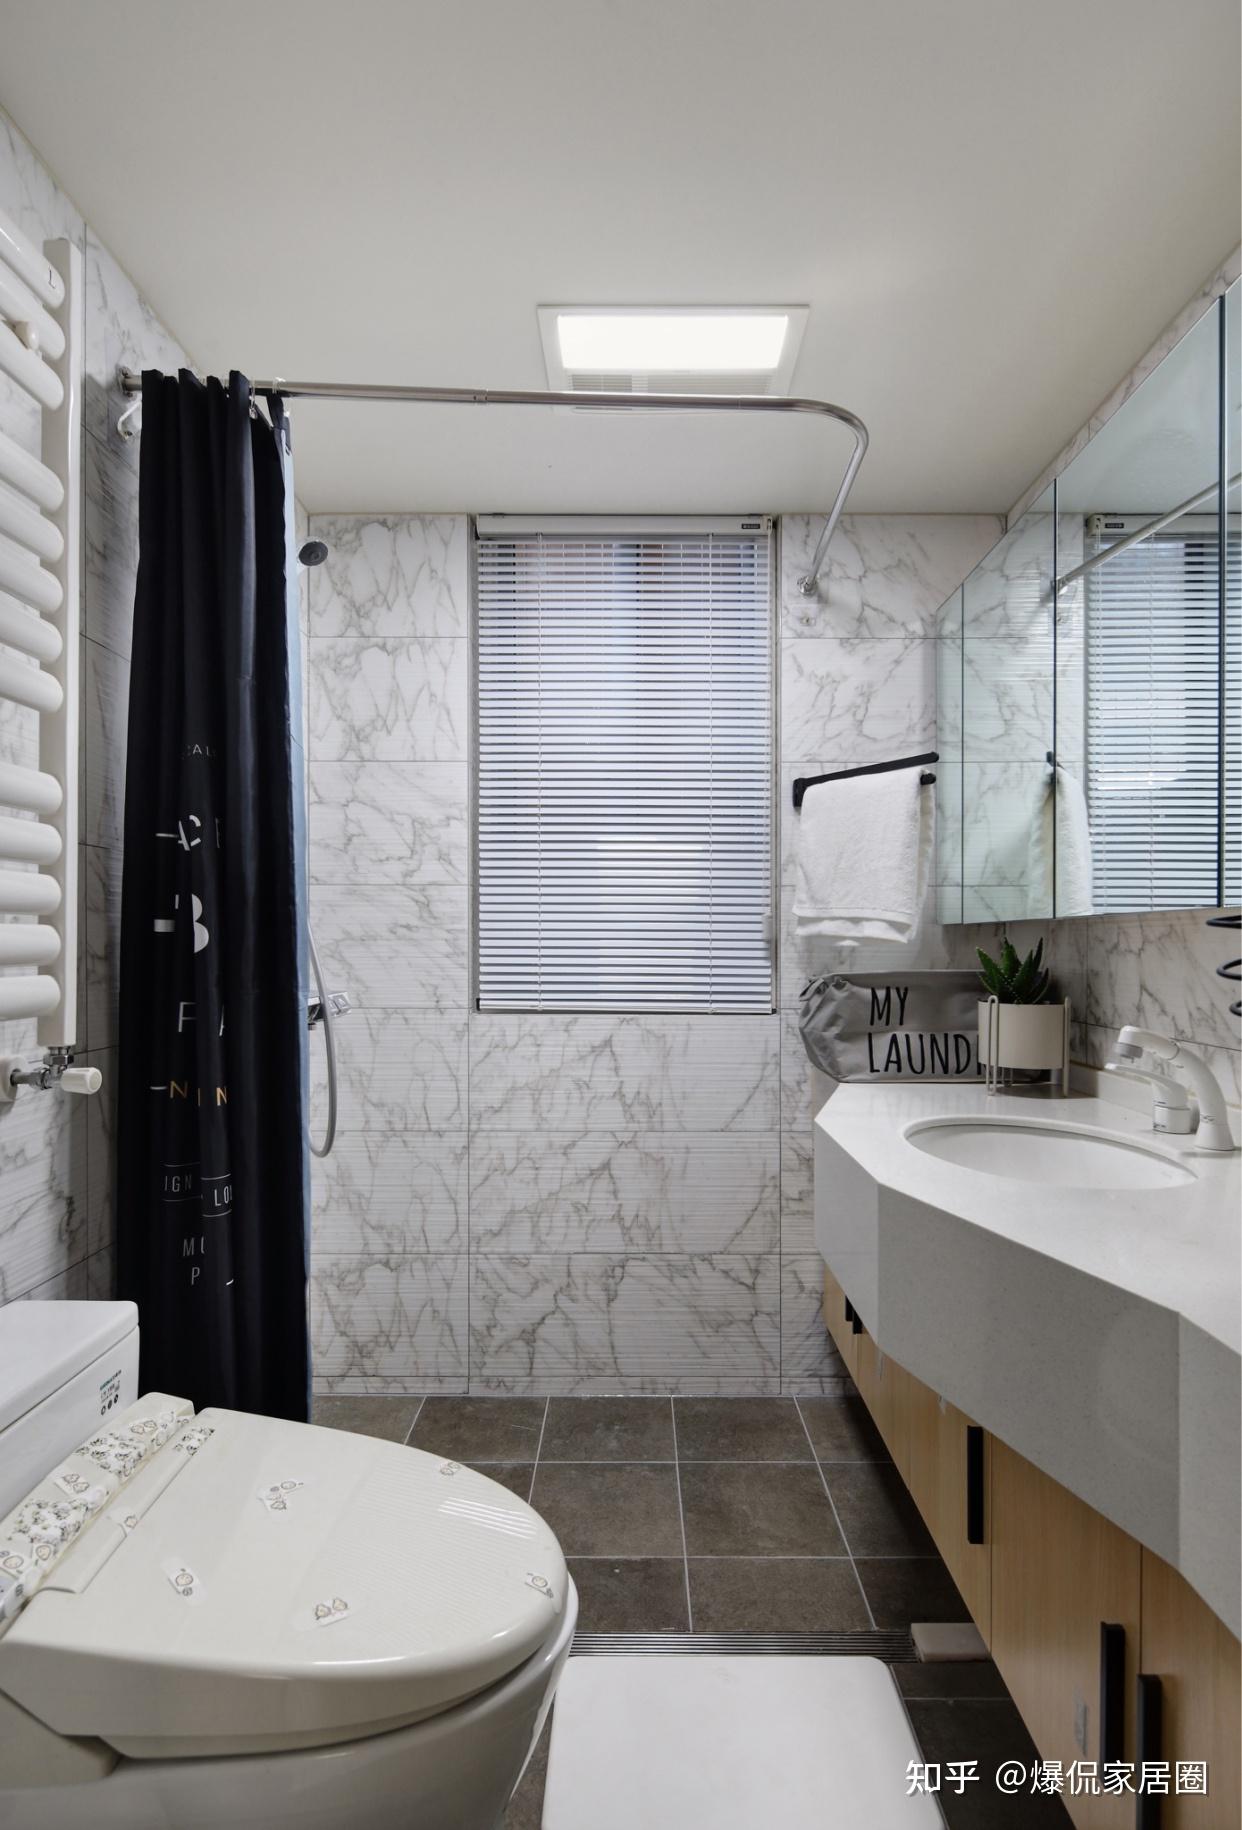
Bathrooms accumulate dirt, so easy-cleaning tiles are essential. Glazed tiles are ideal—they come in varied colors and patterns, with dense surfaces that resist stains. Regular cleaners suffice for maintenance. For walls, glossy tiles simplify wiping and prevent residue buildup.

Consult retailers on cleaning methods or opt for smooth-surfaced tiles to minimize upkeep.
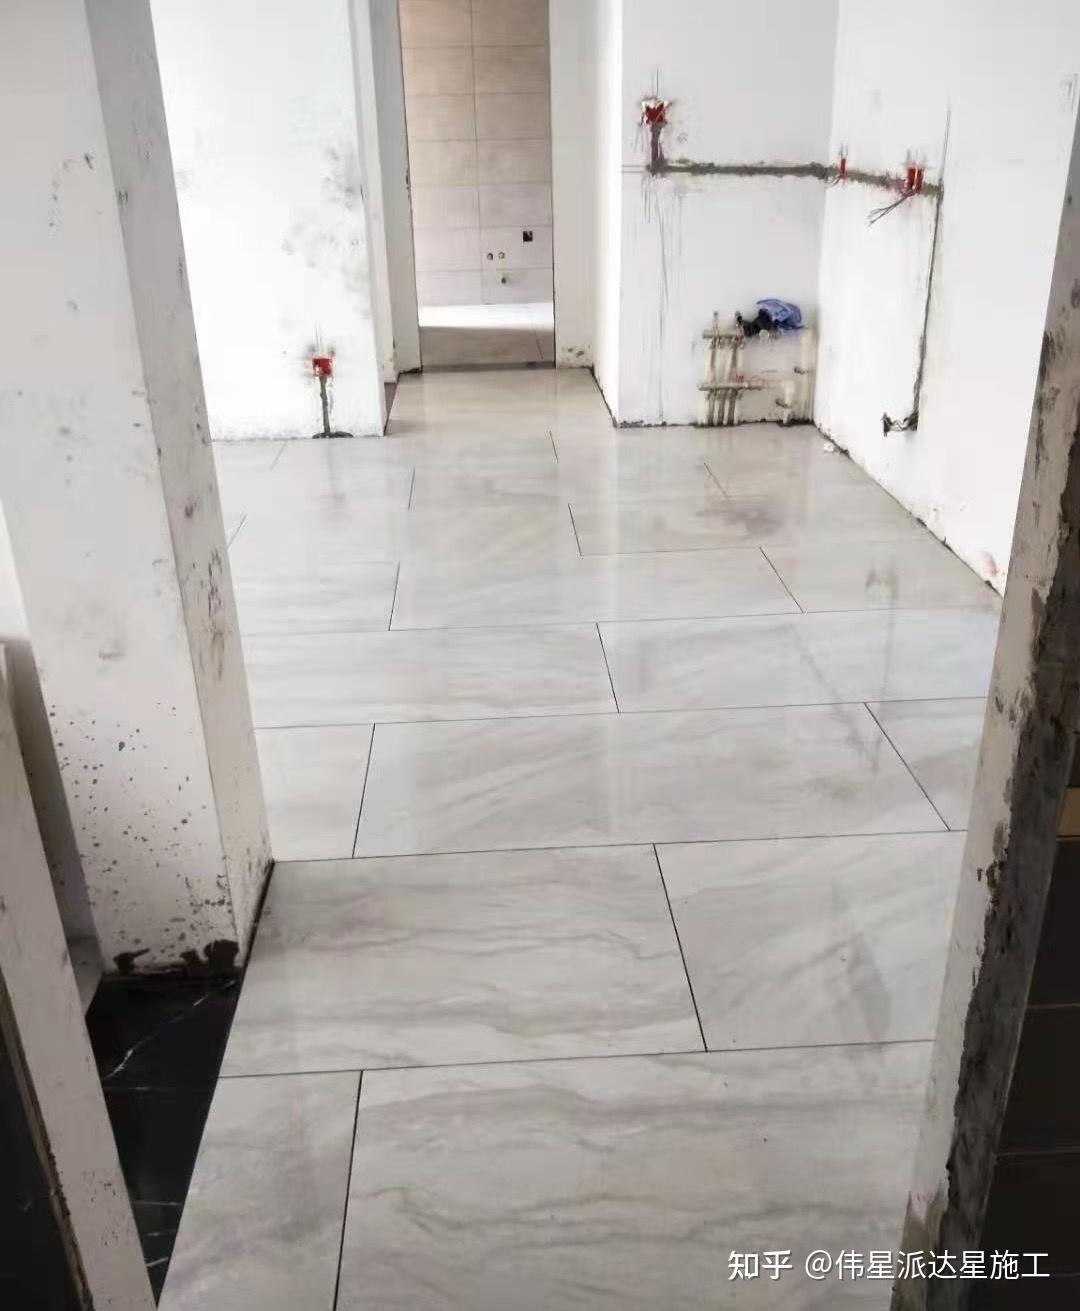
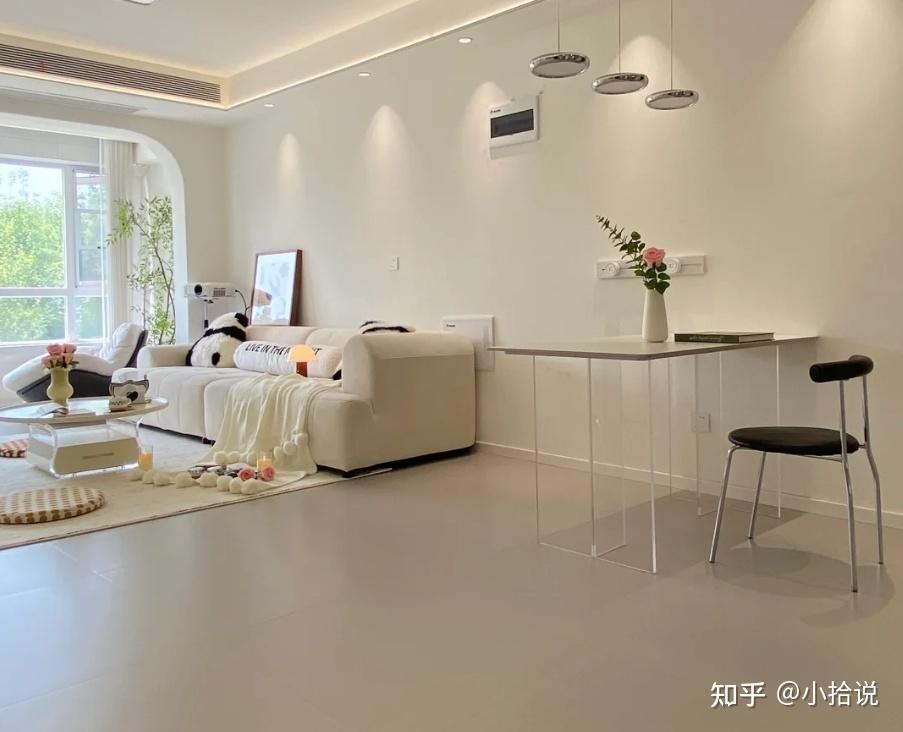
5. Buy tiles that match your home’s style
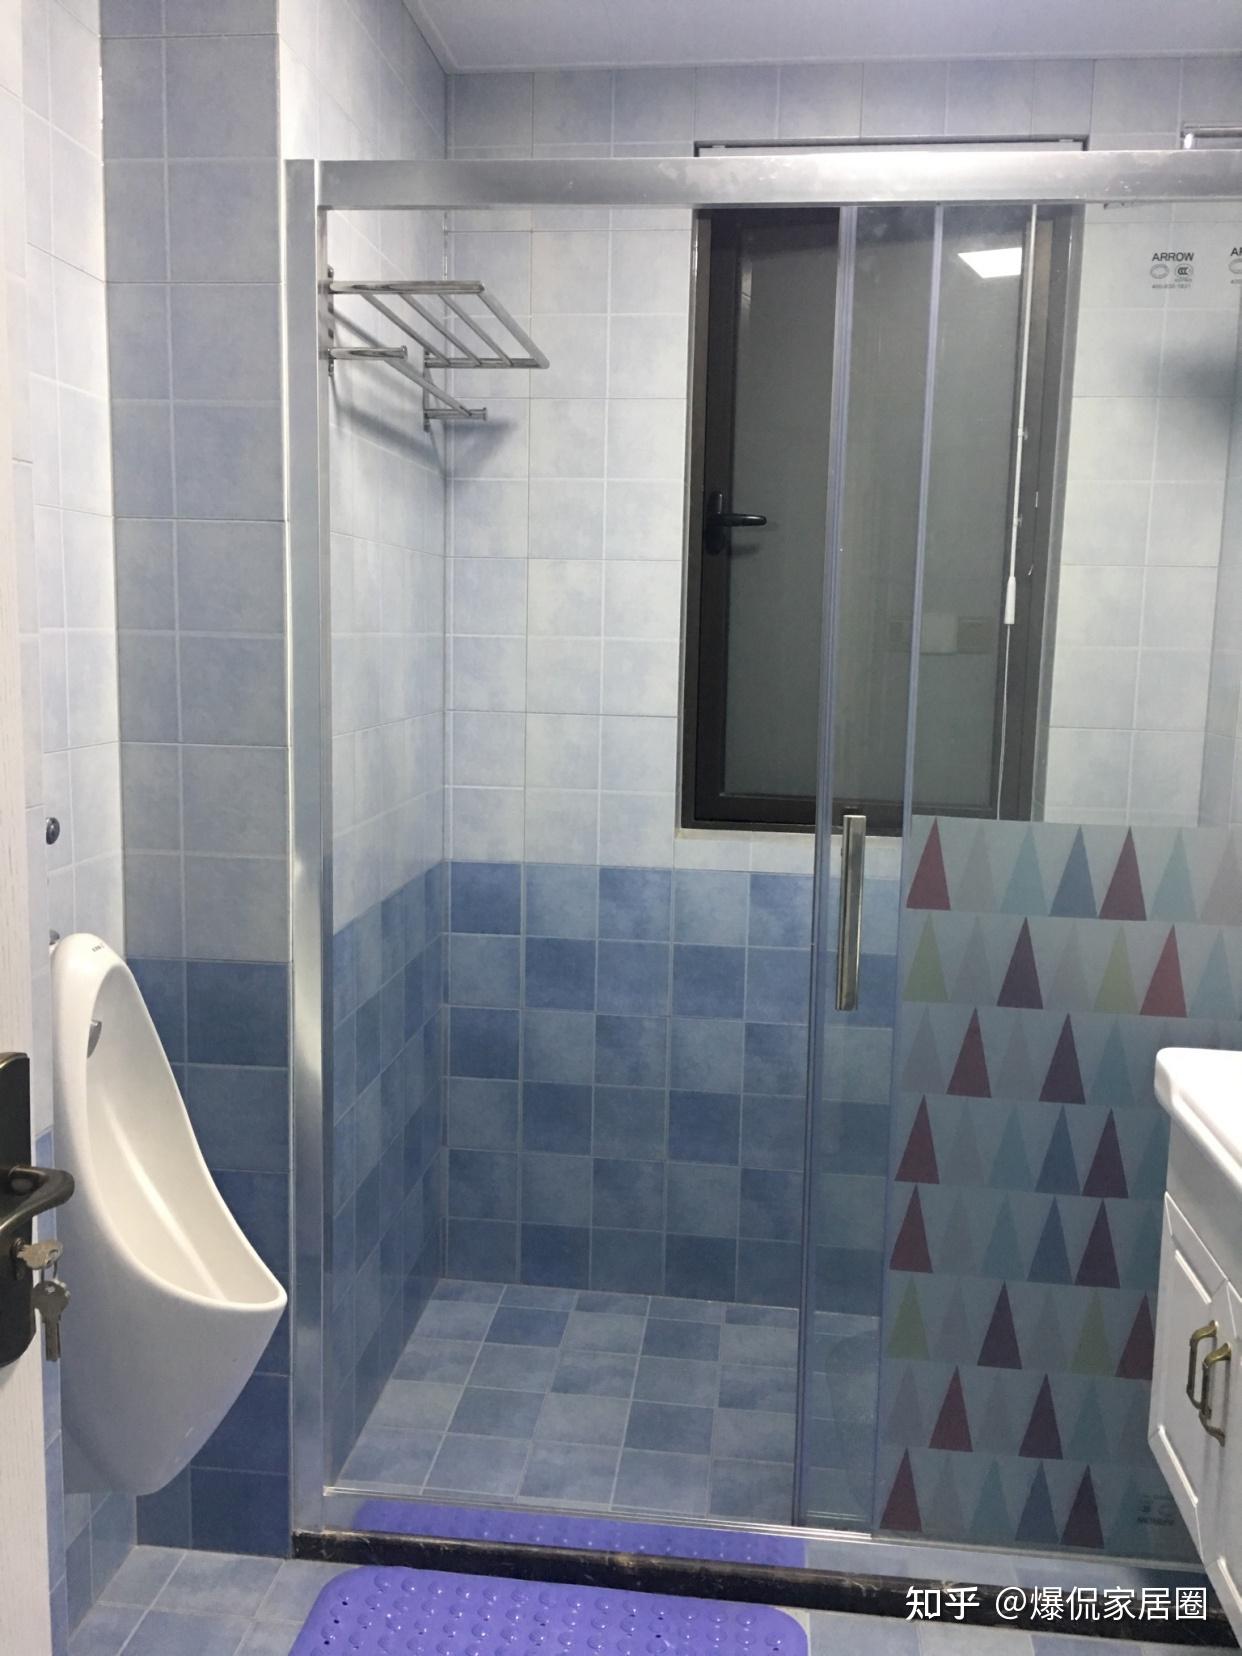
Tiles should blend functionality with aesthetics. Consider your overall decor to ensure colors and patterns harmonize. For small bathrooms, light-colored tiles create an illusion of space. Medium-sized bathrooms benefit from warm tones for coziness, while large bathrooms can use dark hues or large-format tiles for a bold look. Experiment with unique layouts to add depth.

Part 2: 5 Things to Avoid When Choosing Bathroom Tiles
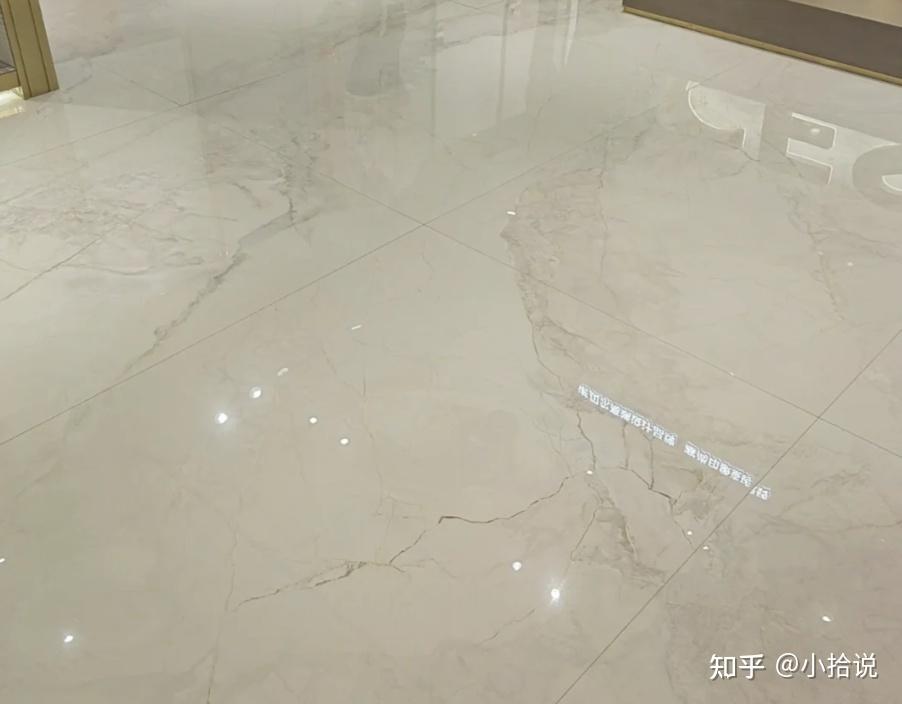
1. Don’t buy overly smooth tiles
Smooth tiles may look appealing but become slippery when wet, posing safety risks. In humid bathrooms, opt for matte or textured tiles instead.
2. Don’t buy tiles with high water absorption
High-absorption tiles allow moisture penetration, leading to mold and reduced lifespan. Avoid tiles where water spreads quickly on the back.

3. Don’t buy tiles with deep pits
Textured tiles might improve grip but trap dirt over time, making cleaning difficult. Choose smooth, stain-resistant tiles like glazed varieties to ease maintenance.

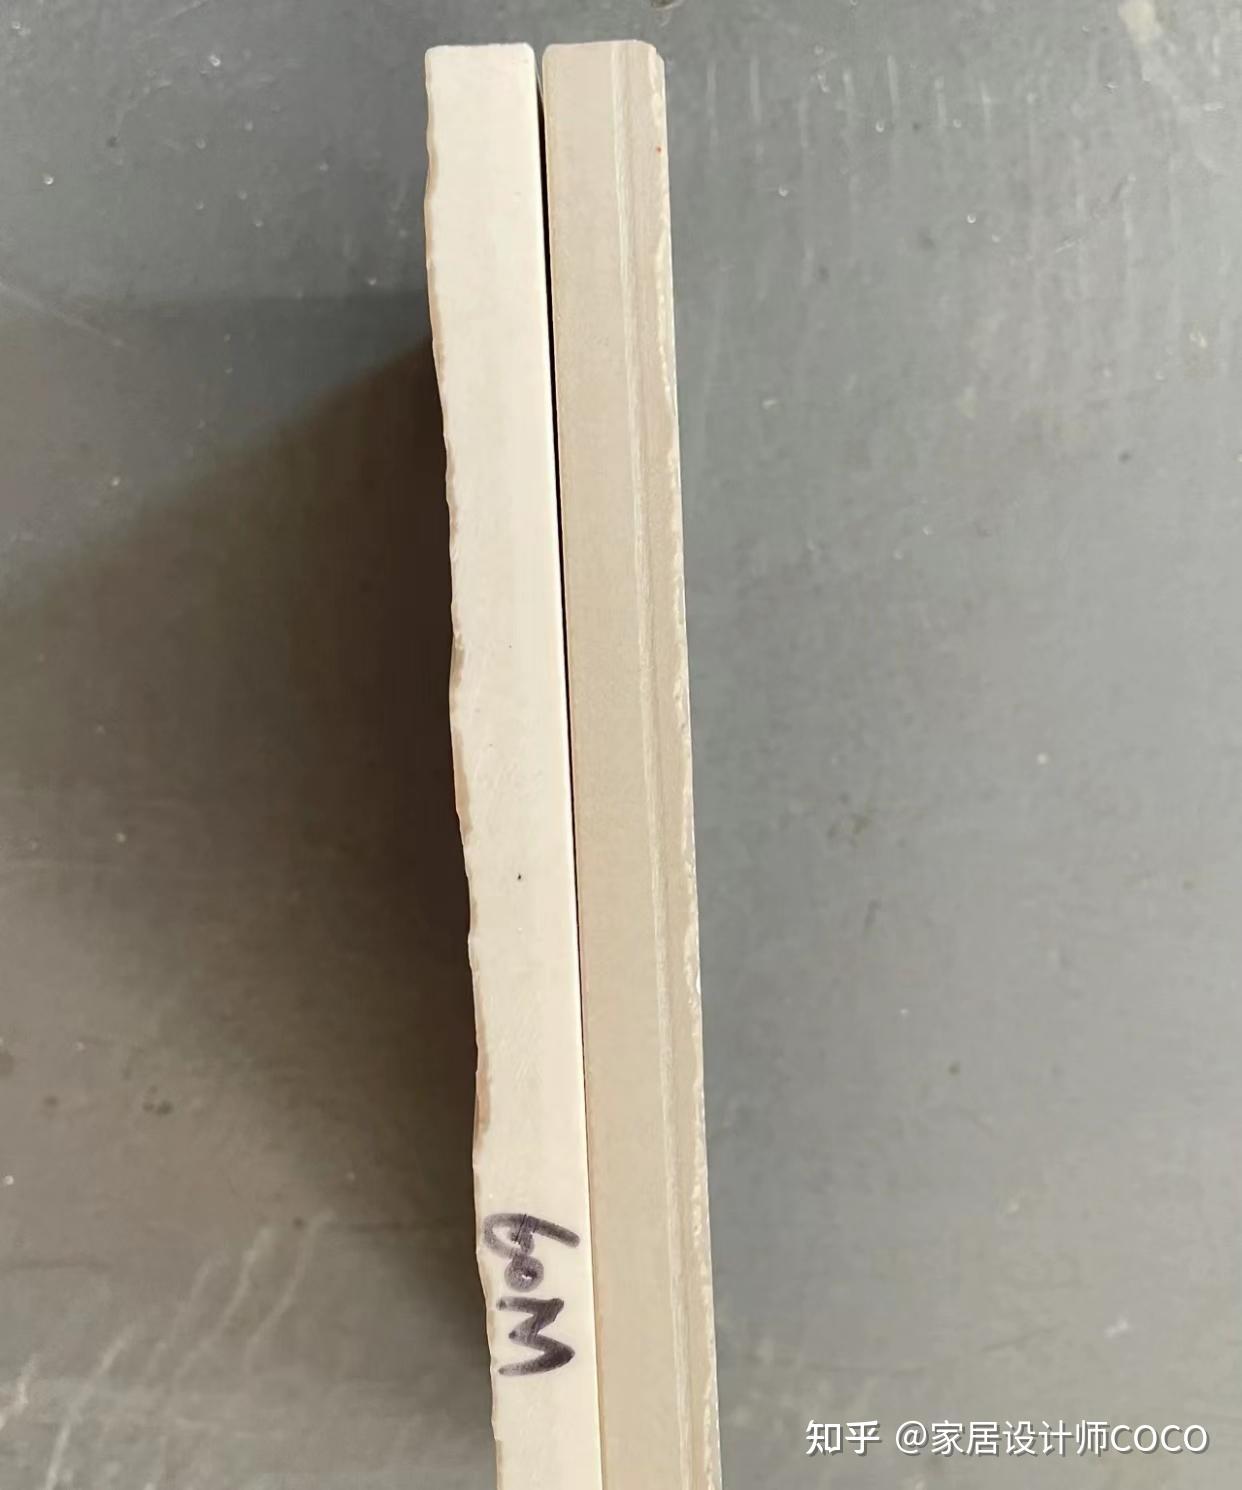
4. Don’t buy low-quality tiles
Tile quality impacts durability and appearance. Select reputable brands and verify authenticity through packaging. Inspect samples for cracks or color inconsistencies to avoid safety issues and premature wear.
5. Don’t buy tiles that clash with your home’s style
Ensure tiles complement your decor to maintain visual harmony. Mismatched colors or patterns can disrupt the overall ambiance, so prioritize coordination.

Additional Tips for Bathroom Tile Selection
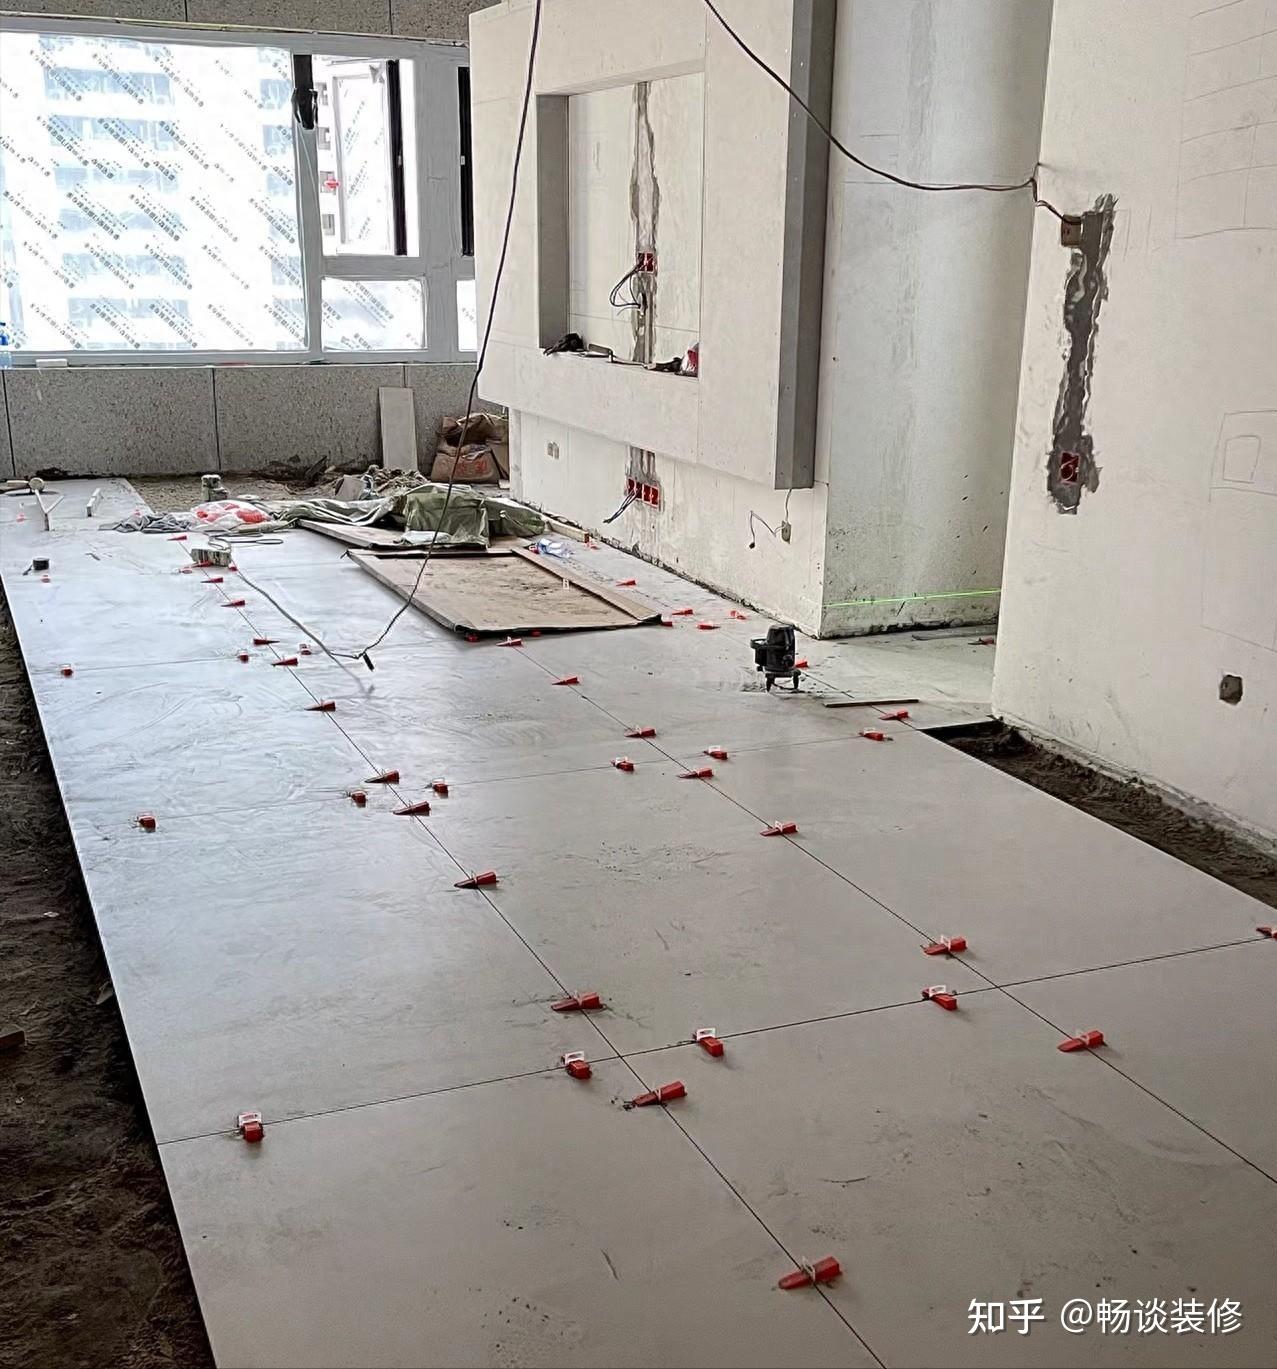
Plan your budget wisely and compare brands for value. Consider long-term costs like cleaning. Reputable brands offer reliability, but affordable options can suffice if they meet standards. Check quality reports and user reviews. Assess tile size and installation methods—larger tiles with fewer seams enhance spaciousness, while layouts like straight or herringbone add personality. Lastly, prioritize eco-friendly tiles with low emissions for health and environmental benefits.

In summary, bathroom tile selection involves balancing safety, functionality, and style. By focusing on slip resistance, water absorption, durability, cleanability, and design coherence, you can create a beautiful and practical space. Use these tips to make smart choices and avoid common errors.
Ultimate Tile Selection Guide: 5 Essential Buys and 5 Common Mistakes to Avoid for Home Renovation and Flooring Tips
Selecting the right tiles for your home renovation is crucial, as they are a visible element that impacts the overall aesthetic. This guide covers key “5 must-buy” and “5 must-avoid” rules to help you make informed decisions. Avoid tiles with poor stain resistance, as stains can penetrate and become impossible to clean. Steer clear of uneven surfaces like antique or wood-grain tiles, which trap dirt and are hard to maintain. Dark-colored tiles can make spaces feel cramped and dim, while overly busy patterns may clash with your decor. Trendy “internet-famous” tiles often lead to installation issues and impracticality. Instead, purchase tiles from physical stores to avoid color discrepancies and simplify returns. Opt for tiles manufactured in Guangdong for guaranteed quality, choose 800×800 sizes for cost-effectiveness and visual appeal, select super wear-resistant options for long-lasting shine, and prefer single-brand operations for consistent quality.


Guide to Choosing High-Quality Tiles: 8 Essential Testing Methods for Home Renovation and Durability Assessment
When renovating, tiles are almost always used, but do you know how to select high-quality tiles? This guide provides 8 effective methods to evaluate tile quality, helping you avoid substandard products. Start by inspecting the tile surface for defects like pinholes, glaze residues, or dirt. High glossiness indicates better sintering and overall quality; good tiles reflect light like a mirror, while poor ones appear dull.

Check dimensional accuracy by measuring diagonals with a tape measure. Tiles within national standards for length and width errors (e.g., ±0.5% and ±0.3%) ensure better installation results.

Tap the tile lightly; a clear, crisp sound suggests high density and good quality, while a dull sound indicates poor sintering. Perform a drop test: high-quality tiles won’t break when dropped vertically, demonstrating strength.

Heavier tiles generally have higher density and better quality, with uniform thickness and no edge defects. Test load-bearing capacity by standing on a suspended tile; good tiles withstand weight without cracking.


For slip resistance, place a water cup on a slanted tile surface with water; no sliding indicates good anti-slip properties, crucial for areas like bathrooms. Test water absorption by pouring water on the tile; low absorption (under 0.5% for porcelain tiles) means better stability and resistance to cracking.


Use diluted ink on the tile back; minimal absorption signifies quality. Finally, assess corrosion and wear resistance by scratching with a pen or scissors and wiping clean; no marks indicate durability against chemicals and abrasion.


6 Tiles to Avoid in Home Renovation: Expert Tips on Choosing the Right Flooring for Kitchens, Bathrooms, and Living Spaces – Learn from Common Mistakes
Tiles are a major material in home renovation, directly impacting the aesthetics and comfort of a space. Even for kitchens, bathrooms, and balconies, careful selection is essential to avoid costly mistakes.

In the building materials market, tiles can be a tricky area with huge price variations, leading many families to regret their choices. This article summarizes six types of tiles to avoid, based on real-life experiences and pitfalls.
1. Avoid Black/Dark Gray Tiles: While black and gray are often associated with luxury in home design, they can make spaces feel oppressive and gloomy. For example, using them in bathrooms or living areas may reduce comfort and happiness.


2. Avoid Matte Tiles: Matte tiles, a type of antique-style tile, have a rough surface with noticeable texture, offering good slip resistance and no light pollution. However, they tend to trap dirt and are extremely difficult to clean, making maintenance a hassle.

3. Avoid Soft-Polished Tiles: Soft-polished tiles are often confused with soft-gloss tiles. The former have a slightly rough surface due to polishing, making them prone to staining and hard to maintain. In contrast, soft-gloss tiles have a smoother finish and are easier to clean.

4. Avoid Oversized Tiles: Large-format tiles like 600×1200 or 900×1800 may seem luxurious, but they are not cost-effective for small spaces. Once furniture is placed, the visual impact diminishes, and 800×800 tiles often offer better value.

5. Avoid Non-Continuous Pattern Tiles: Textured tiles can enhance aesthetics, but if the patterns do not align seamlessly across multiple tiles, the result can look awkward and disjointed. Always check for continuous patterns before installation.

6. Avoid Wood-Look Tiles with Texture: Wood-look tiles mimic the warmth of wood but avoid those with pronounced textures, as they accumulate dirt and are challenging to clean. Opt for smooth surfaces instead.

In summary, focus on practical tile choices, supervise installation, and consider reputable brands to ensure quality and avoid regrets.
Matte Glazed Tiles Selection Guide: Types, Colors, Sizes, and Tips to Avoid Mistakes in Home Renovation and Interior Design
When I decided to use matte glazed tiles, I wasn’t afraid of making costly mistakes.
To avoid pitfalls, it’s essential to choose based on your specific situation.
Smooth surface and high-end texture are key attributes.
Some people report failures with matte glazed tiles because most don’t select properly.
There are four main types: skin glaze, satin glaze, candy glaze, and fine dry grain surface.


Skin glaze and satin glaze offer smooth, fine surfaces with better quality.
Candy glaze and fine dry grain surface have a granular texture, making them harder to clean.
Matte glazed tiles have a glaze surface; without it, they are called soft polished tiles, which may have capillary pores leading to stain absorption and difficult maintenance. Glazed matte tiles are as easy to clean as glossy tiles.
Matte glazed tiles are versatile, fitting most decoration styles like basic clothing.
For cream or original wood styles, milk white is suitable.
For modern or new Chinese styles, light gray works well.
For minimalist style, use pure color matte tiles with same-color epoxy grout for seamless splicing, achieving up to 90% of the micro-cement effect.
Choose warm or cool tones based on the overall space style; light gray, milky white, and beige are universal colors.
Avoid dark tiles to significantly reduce failure risks.
1500*750 size conveys luxury, while 800*800 shows practicality, as tile size isn’t the key factor.
Focus on making grout the same color as the tile to minimize its presence, which is core to a high-end look.
How to prevent failures with matte glazed tiles?
Semi-porcelain tiles have high water absorption; light-colored matte tiles with high absorption can absorb cement moisture, causing uneven surface color.
Matte tiles with less texture appear more qualitative, especially pure color ones, but have relatively poor slip resistance; select based on your needs.
Pure color matte tiles without patterns are more advanced; opt for a 15° glossiness for better effect and texture.
Use matte grout that matches the tile color, preferably epoxy grout, and ensure it isn’t lighter than the tile.
Soft polished surfaces can stain, scratch easily, and seem perpetually dirty; failures often occur with this type.
Whole-house installation offers a low-key, elegant look with a spacious, airy feel, resembling micro-cement.


