Complete Guide to Cement Protection Layer Installation After Roof Waterproofing for Enhanced Durability and Long-Term Building Safety
After completing roof waterproofing, it is highly recommended to apply a cement protection layer to safeguard the waterproof membrane from external environmental damage. This practice not only extends the lifespan of the waterproofing system but also enhances its overall effectiveness, ensuring long-term structural integrity. Below is a detailed explanation of the reasons and step-by-step construction process.

Reasons for applying a cement protection layer:
- Protection of the waterproof layer: The cement layer acts as a barrier against UV radiation, temperature fluctuations, and mechanical damage, preventing degradation.
- Extended service life: It reduces the impact of environmental factors, minimizing the need for frequent repairs and replacements.
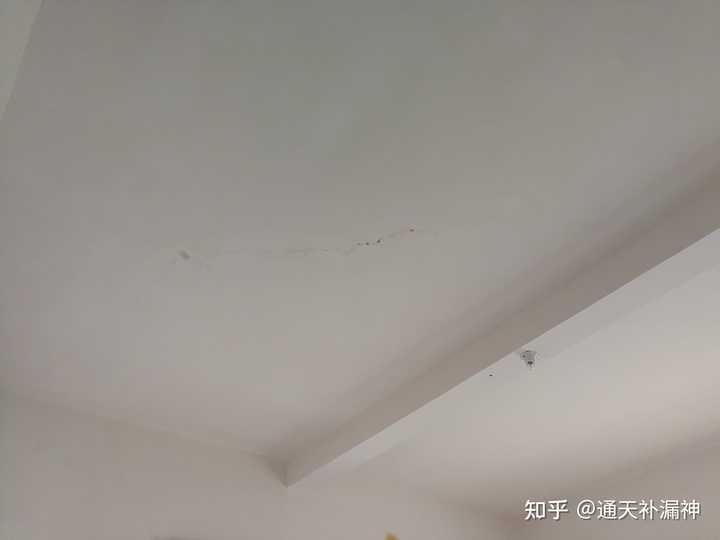
- Enhanced waterproofing effect: By integrating with the waterproof membrane, it forms a complete system that reduces leakage risks.
Construction steps:
- Material preparation: Use ordinary Portland cement with a strength grade of at least 32.5, medium or coarse sand with mud content below 3%, and clean water. Ensure all materials meet quality standards.
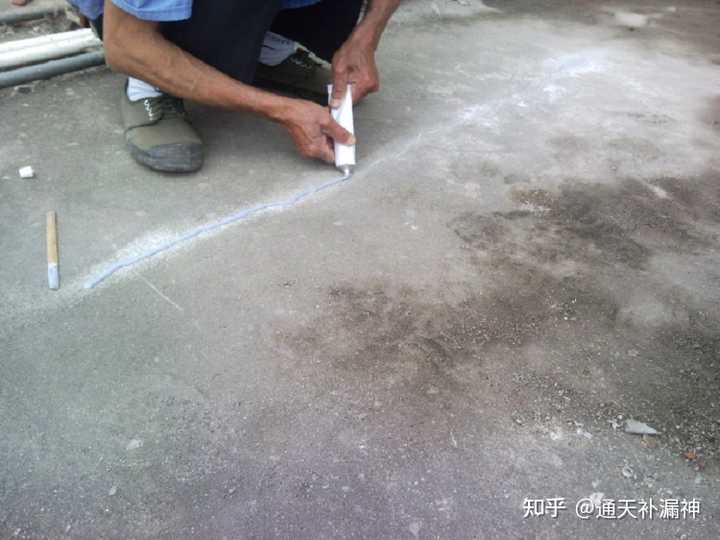
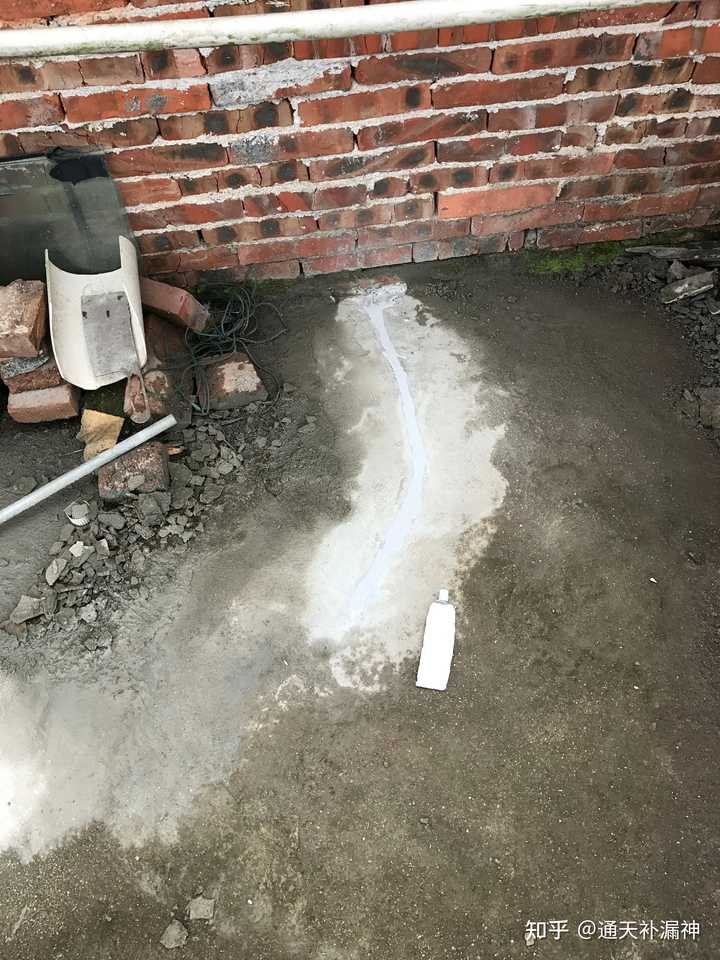
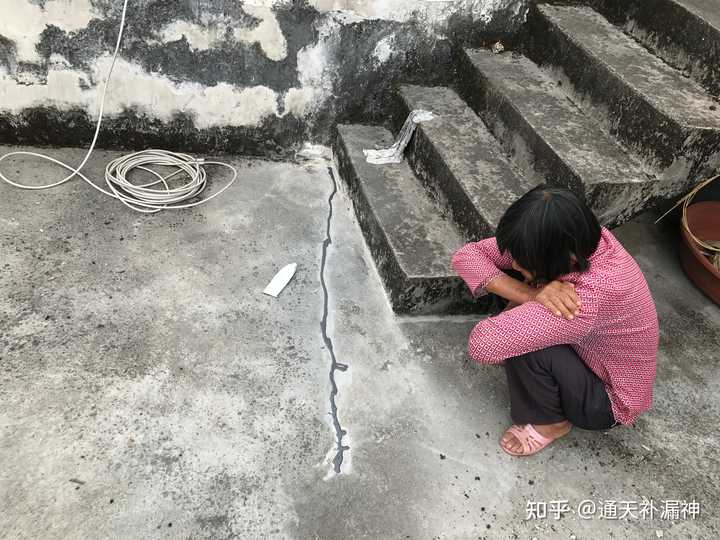
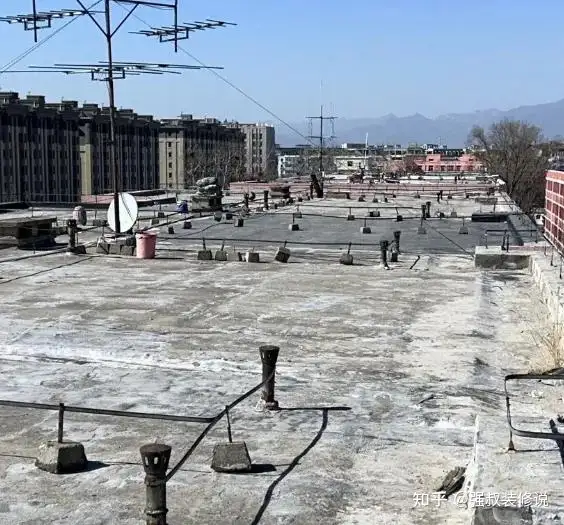
- Clean the waterproof layer: Before laying the cement layer, ensure the surface is flat, clean, and free of debris and cracks. Repair any imperfections with cement mortar.
- Check waterproofing effectiveness: Inspect for leaks and repair them promptly to maintain integrity.
- Mix mortar: Combine cement and sand in a ratio of 1:2 or 1:3, add water gradually, and mix to achieve the desired consistency.
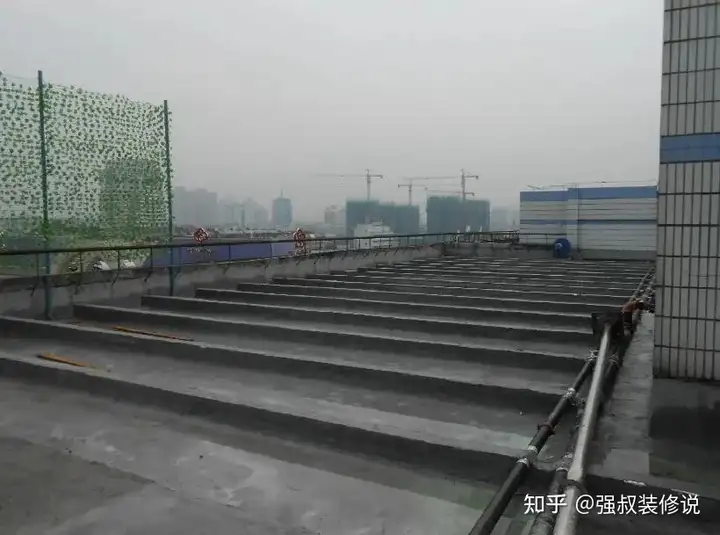
- Apply mortar: Spread the mortar evenly over the waterproof layer with a thickness of 20-30 mm. Level the surface using a trowel or scraper to avoid hollows or cracks.
- Curing and protection: After application, cure the mortar by covering it with plastic film or wet cloth to prevent rapid moisture evaporation. Maintain surface moisture for 7-14 days and avoid heavy loads or activities that could compromise strength.
In summary, applying a cement protection layer after roof waterproofing is essential for forming a durable barrier that ensures building safety and longevity.