• 0

    No products in the cart.

Expert Guide to Exterior Wall Leakage Repair: Waterproofing Solutions for Residential Buildings and Property Maintenance Tips

One question a day, today answering yours.

Exterior wall leakage can be effectively addressed by demolishing and redoing waterproofing, but in community residential buildings, property management may only take responsibility for safety issues like loose tiles, not leaks. They might apply basic exterior waterproof coating superficially, especially for new homes under warranty, with little motivation for older properties.

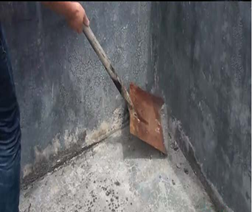
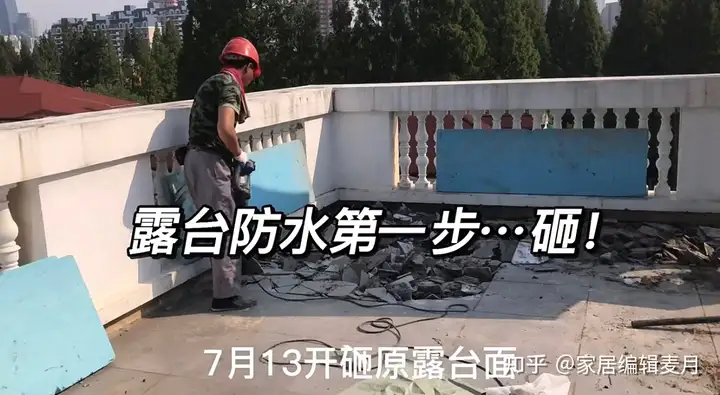
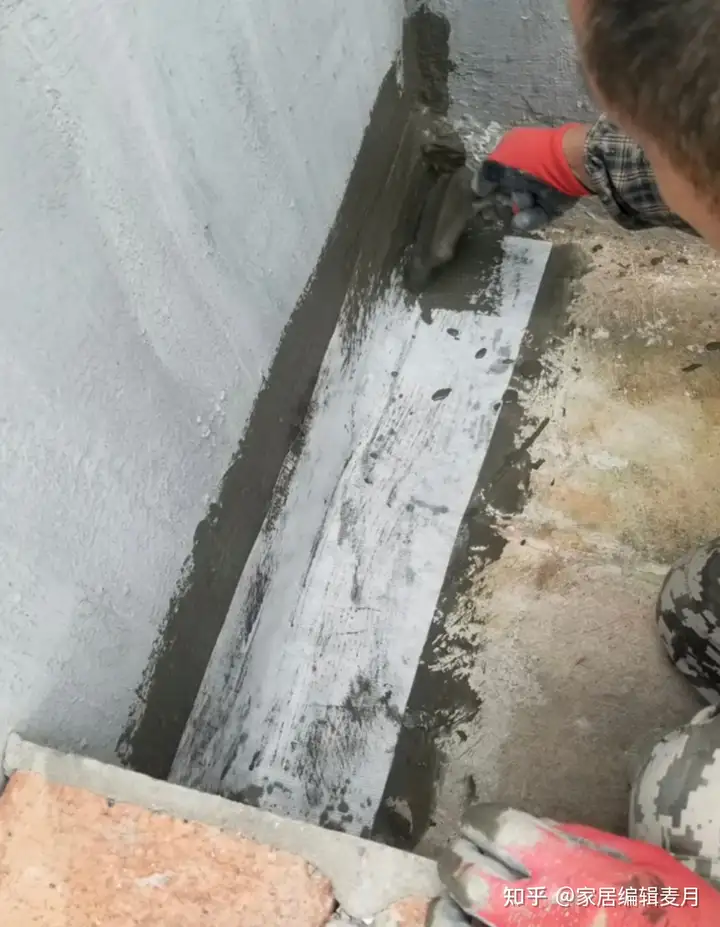
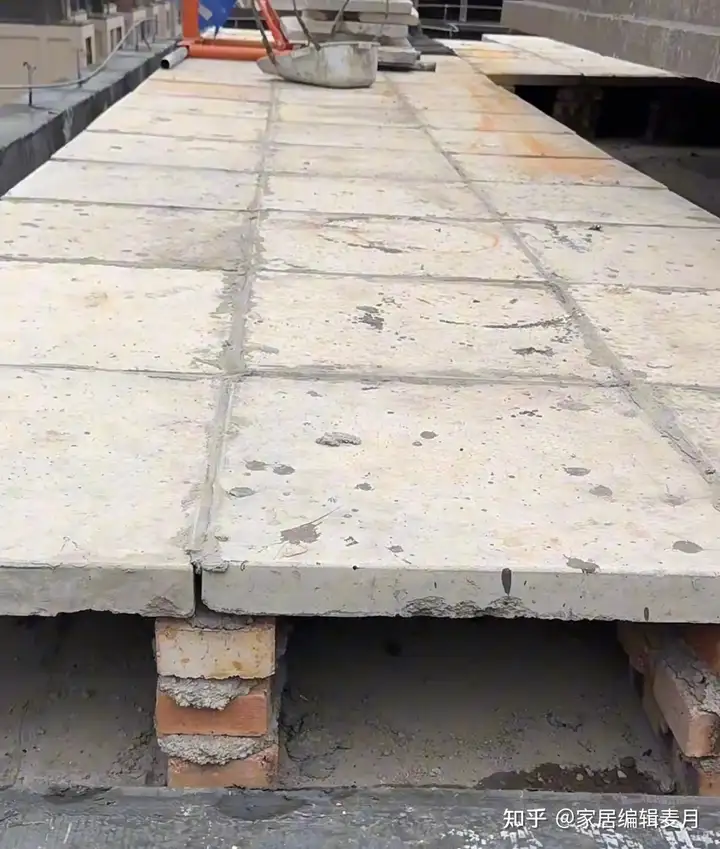
Your leakage is your concern—safety is shared, but life is personal. If property management ignores it, find your own solution. Avoid demolishing exterior walls due to safety risks. For homes on the third floor or lower, where scaffolding is feasible, consider demolition and redoing.

ImageImage

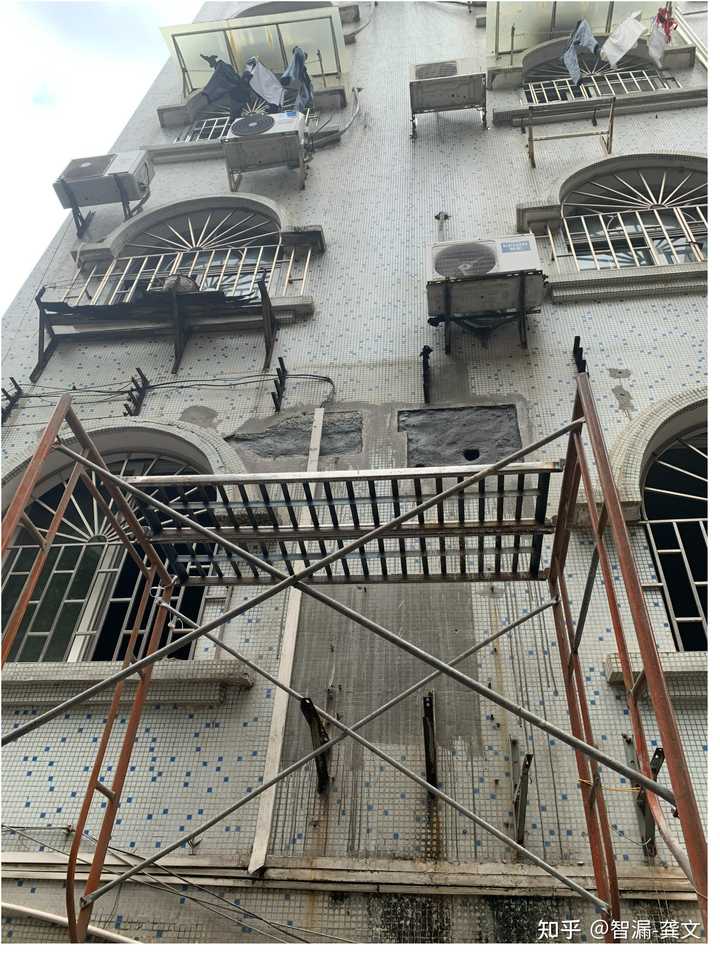
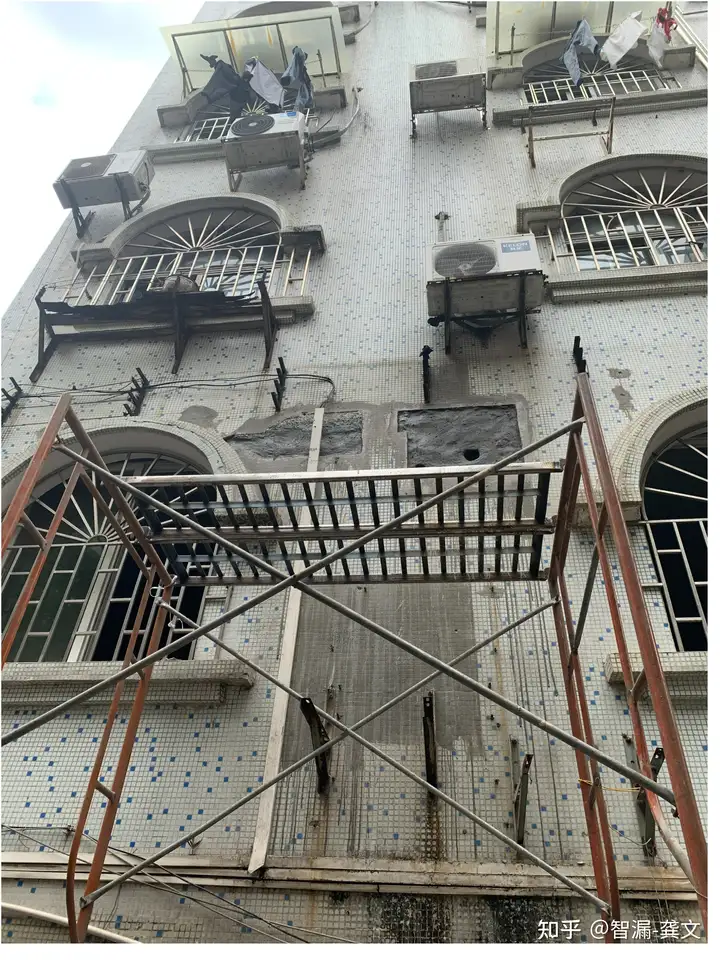
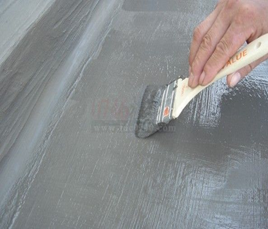
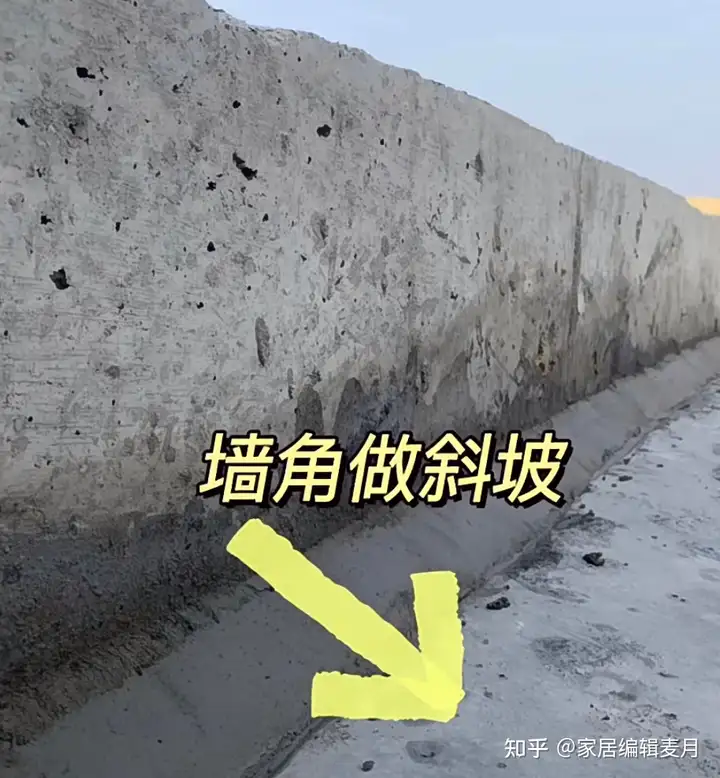
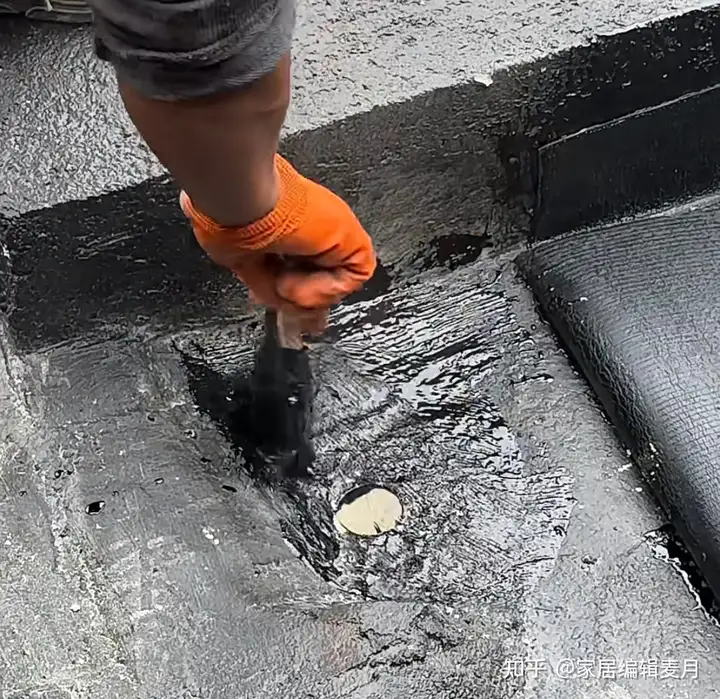
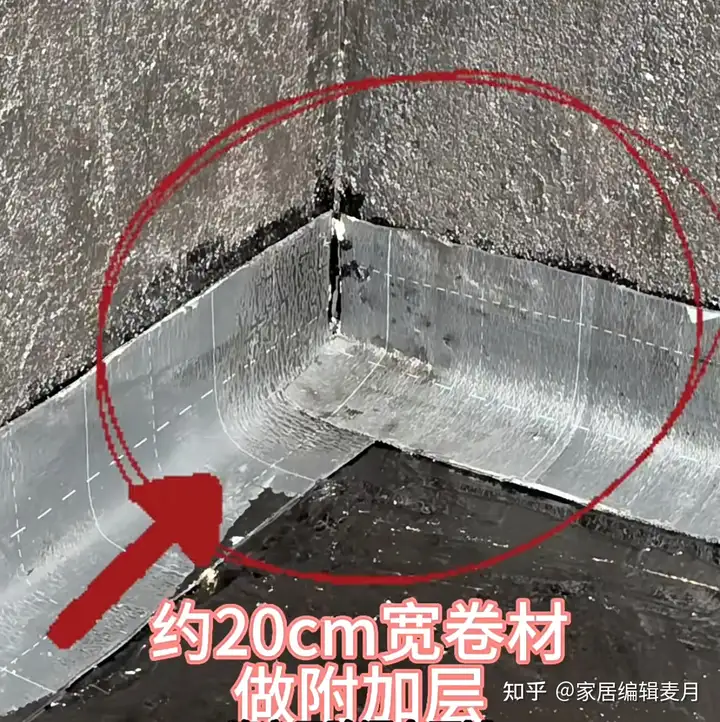
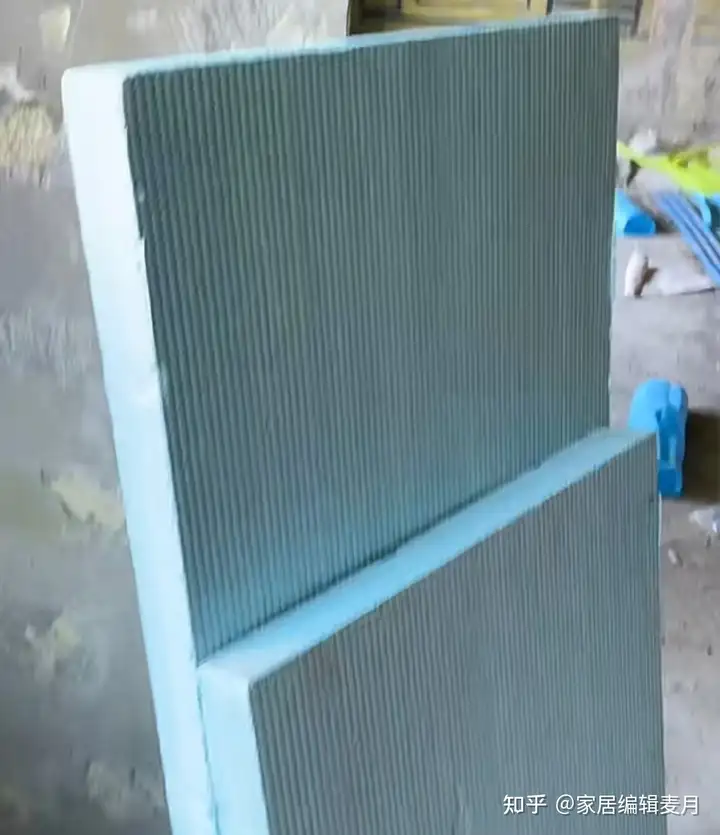
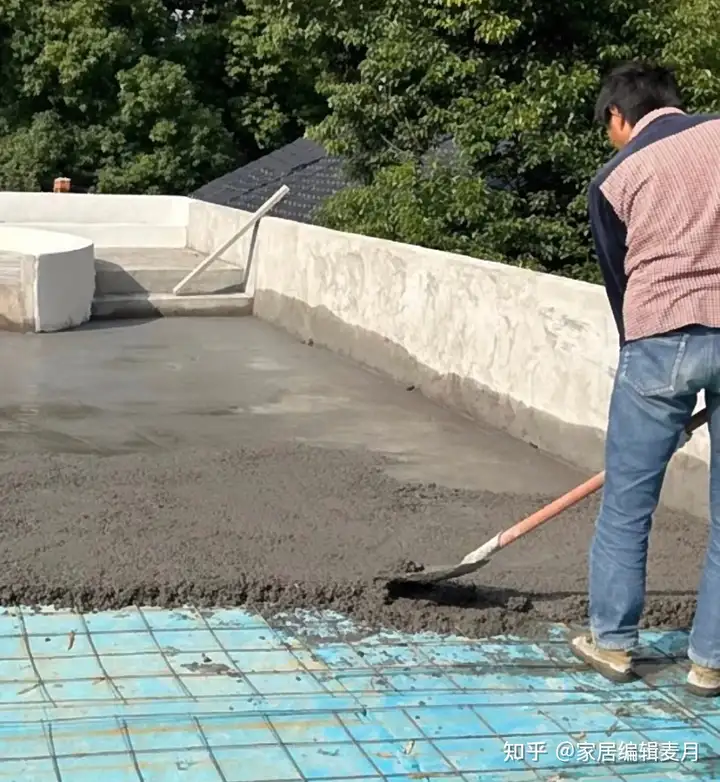
For higher floors, adopt a comprehensive approach: combine exterior and interior methods with rigid and flexible solutions. Externally, use rope-based high-altitude work to fill cracks and apply waterproof glue overall. Choose weather-resistant products and follow manufacturer instructions strictly—don’t skip coats if required.

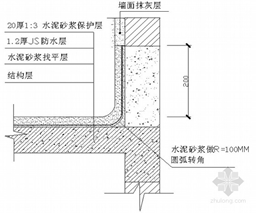
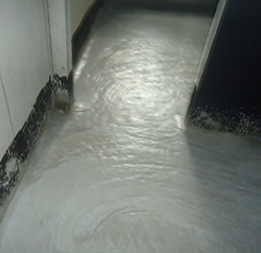
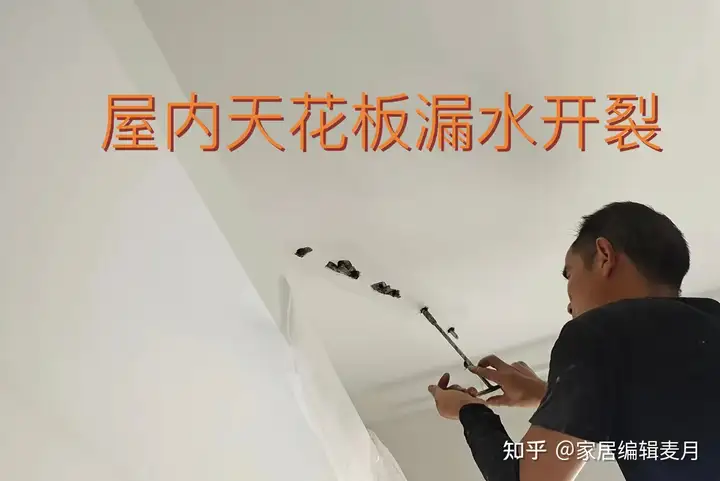
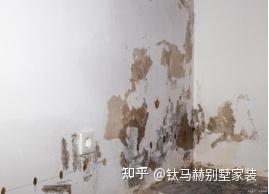
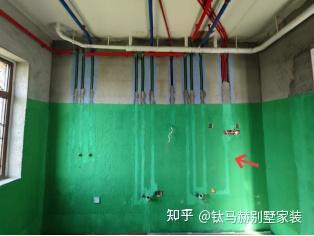
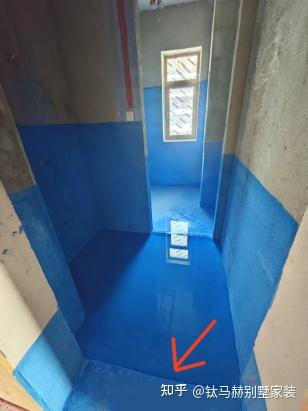
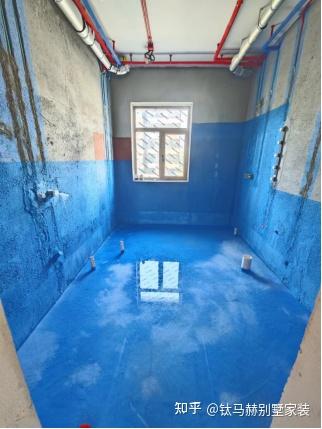
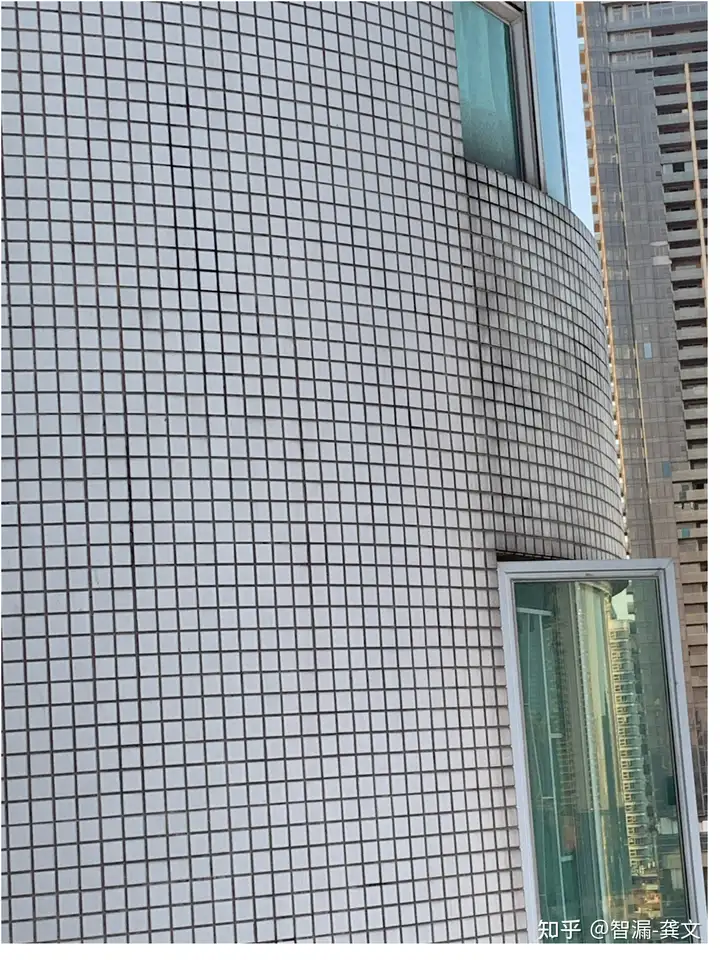
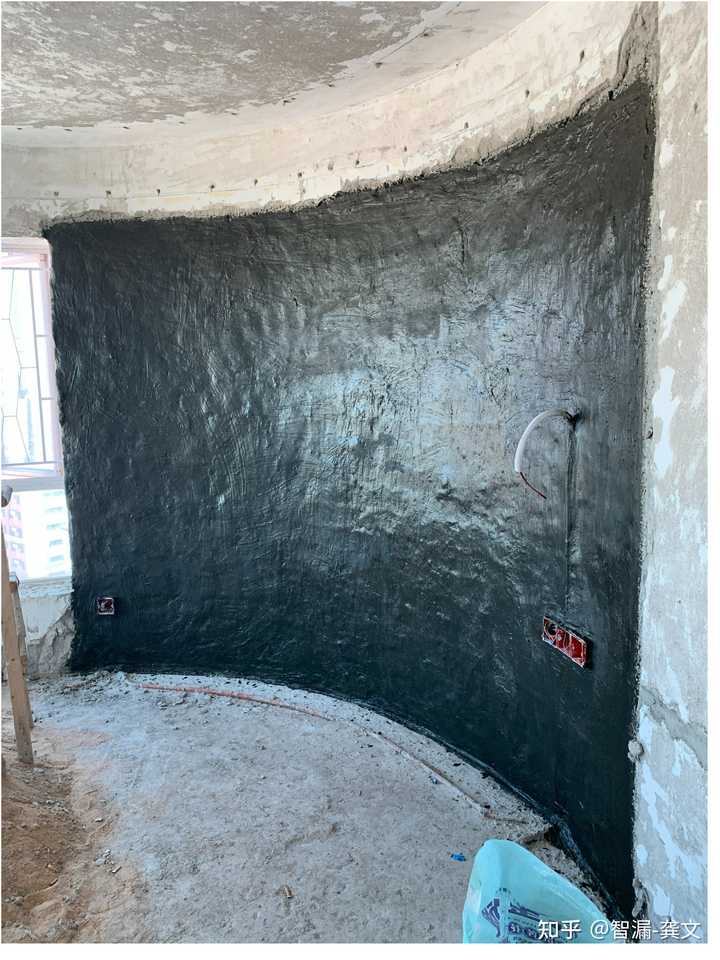
Internally, implement back-surface waterproofing as a backup. Why is this necessary? Even with exterior coating, water can seep from upper floors through cracks, as shown in images.

ImageImage

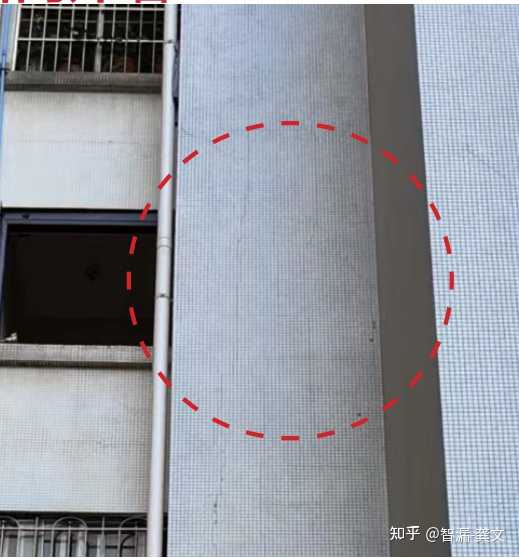
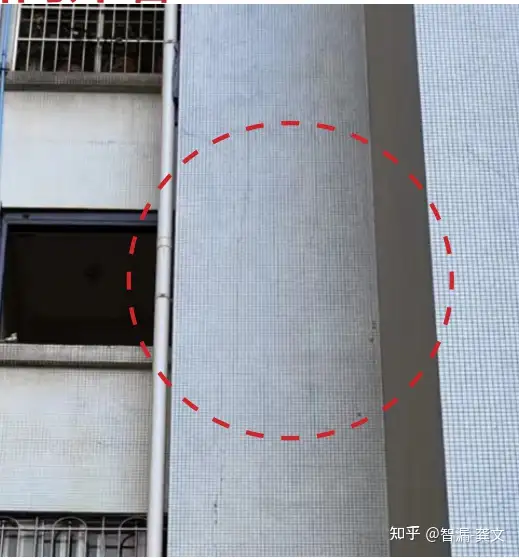
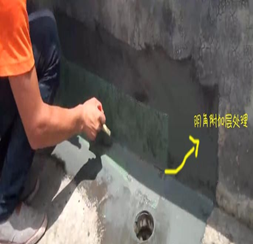
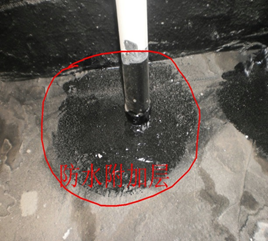
The circled area in the image corresponds to leakage points, revealing extensive cracks. Coating only your floor or a few above isn’t enough—water can infiltrate from higher levels. For tall buildings, full exterior coating isn’t practical, so interior waterproofing is essential. Exterior materials degrade over time, so rely on interior defenses against rainwater.

ImageImageImageImage

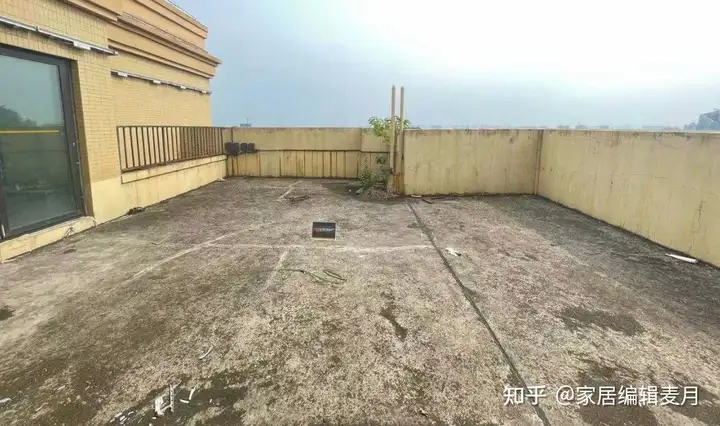
Note: For top-floor leaks with downward interior water trails, check the roof in addition to exterior walls. Leakage is complex; accurate diagnosis ensures effective solutions.

Step-by-Step DIY Waterproofing Guide: Essential Materials, Tools, and Procedures for Effective Home Leak Prevention and Protection

Materials

Waterproof coating (recommended flexible waterproofing for good elasticity), non-woven fabric, roller, brush, masking tape, gloves, mask

Tools

Scraper, tape measure, level (for leveling)

Site Preparation

Thoroughly clean the construction area and repair any cracks or uneven spots on the ground and walls with cement mortar.

  1. Base Treatment: Use a broom and vacuum to remove all dust and debris. Dry any wet areas completely. This step is critical for waterproofing effectiveness.
  2. Apply Masking Tape: Place masking tape along corners and pipe edges to prevent coating from spreading. It removes easily later for a clean finish.
  3. Apply First Coat: Use a brush for corners and pipe roots, then a roller for large areas. Apply thinly to avoid sagging. Allow to dry for 4-6 hours.
  4. Lay Non-Woven Fabric: While the coating is still tacky, lay non-woven fabric and press with a roller to ensure full adhesion, enhancing waterproofing.
  5. Apply Second Coat: After the first coat is completely dry, apply the second coat in a perpendicular direction. Maintain a thickness of 1.5-2mm.
  6. Water Test: After full curing (usually 48 hours), block drains and fill with 5-10cm of water. Check for leaks in the area below. Ensure adequate testing time.

Important Don’ts

  • Avoid waterproofing on rainy days, as high humidity slows drying and can cause peeling.
  • Do not skip base treatment; improper cleaning may require rework.
  • Do not shorten the water test time; insufficient testing could lead to leaks.

Save this guide! DIY waterproofing is simpler than expected and helps save money for other needs.

Comprehensive Guide to Waterproofing in Construction: Structural Integrity and Polymer Cement Coating Techniques for Leak Prevention in Buildings

Waterproofing is generally divided into structural waterproofing in civil engineering and coating waterproofing during decoration.

Structural waterproofing refers to the waterproofing of floor slabs. Most of the waterproofing effectiveness relies on structural integrity. Before applying waterproof coatings, it is essential to conduct a water tightness test on the original structure, focusing on critical areas like wall roots, thresholds, floor drains, slab joints, and drainage pipe roots. Minor leaks can be repaired with sealing agents, while severe cases may require polyurethane injection.

Coating waterproofing involves polymer cement-based materials, which are flexible, corrosion-resistant, and crack-resistant. The key construction steps include:

  1. Base treatment
  2. Additional waterproof layer for details
  3. Applying the second coat
  4. Waterproof layer repair
  5. Water accumulation test
  6. Laying cement mortar protection layer
  7. Final acceptance

1. Before waterproofing, level and slope the ground. Repair gaps, cracks, or uneven surfaces with cement mortar. The base must be solid, flat, clean, and free of dust, oil, or debris. Internal and external corners should be rounded and smooth.

Base Treatment ImageSurface Preparation Image

2. Apply additional waterproof layers to high-risk areas like wall roots, pipe roots, and floor drains. The coverage should be 300mm in diameter around pipes and 250mm horizontally and vertically at corners.

Detail Waterproofing ImagePipe Sealing Image

3. Install threshold water barriers using cement mortar mixed with waterproofing material. The barrier should be slightly narrower than the door frame and 2.5–3cm below the finished surface. After installation, apply waterproofing over a 200mm width around the barrier. Threshold stones must be wet-laid, with ends sealed using specialized mortar to form an L-shaped waterproof layer.

Threshold Barrier Image

4. Apply waterproof coatings in layers, divided into two or more coats depending on design thickness. Each layer should be 0.5–0.6mm thick (first coat 0.6mm, subsequent coats 0.5mm). Ensure even application, and allow each layer to dry completely before applying the next. Coats should be applied perpendicularly, starting from walls to floors, moving inward to outward.

Coating Application Image

5. Standard wall waterproofing height must be 300mm, while shower areas require a minimum height of 1800mm.

Wall Waterproofing Image

6. Conduct a 24-hour water accumulation test on the waterproof layer. After approval, lay a cement mortar protection layer to prevent damage during subsequent construction.

Water Test ImageProtection Layer Image

Common issues and solutions include: Failure to perform pre-construction water tests on structural surfaces can lead to leaks. Always conduct a 24-hour test, document issues, and ensure repairs before proceeding. Additionally, improper threshold barriers or unrounded corners may cause water seepage. Use rounded corners and multi-layer coating applications to enhance durability.

Expert Guide to Waterproofing Top-Floor Terraces: Step-by-Step Process for 20-Year Leak Protection and Durability in Apartment Renovations

I purchased a top-floor apartment primarily for its affordability and the inclusion of a 100-square-meter terrace, with a total cost of 2.6 million, comparable to non-top-floor units without such a bonus.

image

Initially, my family opposed the decision due to concerns about heat and potential leaks, but I insisted, as I wanted to avoid noise from upper floors after experiencing disturbances in lower-level living. However, just two years after moving in, the terrace began leaking, necessitating a comprehensive waterproofing renovation.

image

With guidance from a recommended professional, I followed a method that promises leak-free performance for up to 20 years. The process involved multiple steps: First, remove any existing waterproofing and insulation to expose the concrete structure. If there are pipes or electrical conduits, apply a leveling layer with a slope toward the drainage outlet to protect them during construction.

image

Next, address细节 at wall corners using polyester fabric and white waterproof mortar for a three-coat application to prevent cracking. Create slopes in corners to avoid water accumulation.

imageimage

Then, apply a cold primer evenly and let it dry for at least 4 hours before using rubberized asphalt coating on high-risk areas like wall roots and corners for enhanced protection.

image

For waterproof membrane installation, start with an additional layer in critical zones using a heat-welding method with over 20cm width to meet standards. Fully adhere and weld the membrane with 10cm overlaps, followed by a 24-hour water test for leaks.

image

Add insulation: use an air gap for non-walkable areas and 5cm thick extruded polystyrene boards for terraces. Finish with a cement mortar protective layer, leveling with a slope, and install tiles or wooden flooring.

imageimageimage

This approach has proven reliable over five years, with expectations of lasting two decades, and costs around 110 per square meter, making it a cost-effective solution.

Home Waterproofing Complete Guide: Essential Steps for Bathroom, Kitchen, Balcony, and Basement Leak Prevention in Renovation Projects

Waterproofing is one of the most critical hidden projects in home decoration. Properly executed waterproofing prevents issues like wall peeling and furniture mold.

imageimage

Different areas require specific waterproofing approaches during home renovation. Common zones include bathroom, kitchen, balcony, terrace, and basement.

Key steps include: filling electrical and plumbing grooves with cement mortar, creating a waterproof barrier at doorways to prevent overflow, and wetting walls and floors before applying coatings to avoid absorption.

imageimageimage

Waterproofing should be done after demolition and electrical work, without further damage to the layer. Steps involve: base leveling and cleaning, slope creation to avoid water accumulation, sealing corners and pipes with leak-stopping compounds, applying 2-3 coats of waterproof coating with drying intervals, and conducting a 48-hour water test with 2cm water depth to check for leaks.

imageimageimage

Application guidelines: full floor coating in kitchen, bathroom, and balcony; 300mm on kitchen walls and up to windowsill for sinks; 1200mm height and 1000mm width for basins; 1800mm height and 1200mm width in shower areas, with 900mm on adjacent walls at corners; and 1800mm if bathroom backs a wardrobe.

We are a very complete car parts, 95% of the basic accessories can be found

×
WhatsApp WhatsApp contact me online